Manage Unlimited Templates with Absolute Ease
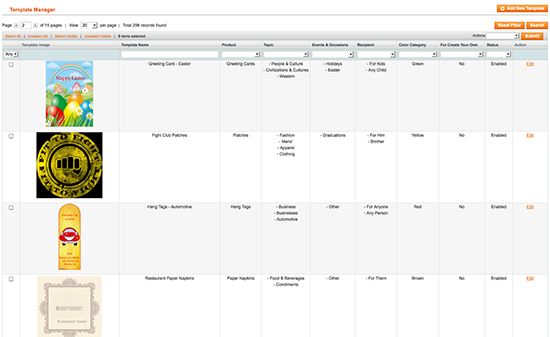
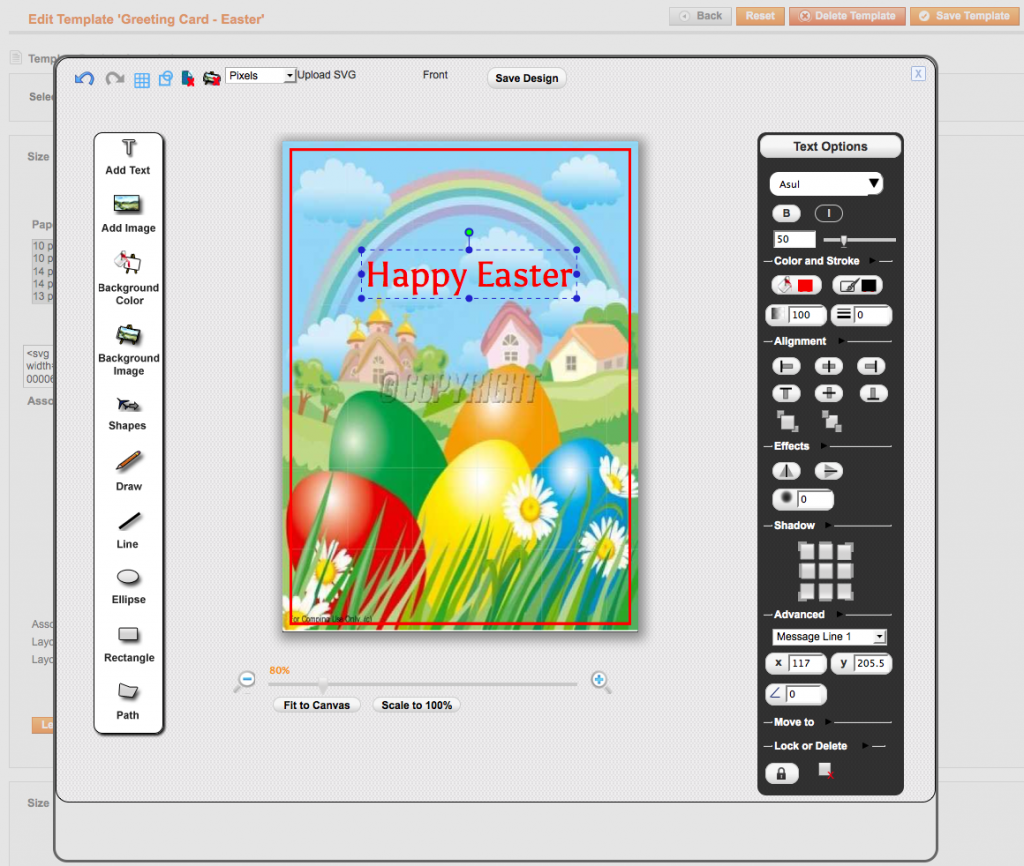
Creating and managing templates is a big task in any (other) web-to-print store, but not in Pixopa Web-to-Print. To help you accomplish this big task very easily, Pixopa Web-to-Print has an advanced template builder module. You can design template with state-of-the-art design studio, associate them to particular products, and different categories, like events, recipients, and topics, make some easy settings, and you are done! It is that easy with Pixopa Web-to-Print Template Builder. Let’s have a look into advanced template management of Pixopa Web-to-Print:1. Add as Many Templates You Want
Template Builder on Pixopa Web-to-Print allows you to add as many templates as you want. Just log in to Pixopa Web-to-Print Admin (backend), open Template Builder, and start creating alluring templates, that your customers can’t resist ordering. There is no limit to how many templates you may add, keep on adding as per your requirement.2. Enable and Disable Them
Enable templates when you want to show them to customers and disable them when you want to hide them. Pixopa Web-to-Print Template Builder allows you to control the templates with a single click.3. Associate to Categories and Color
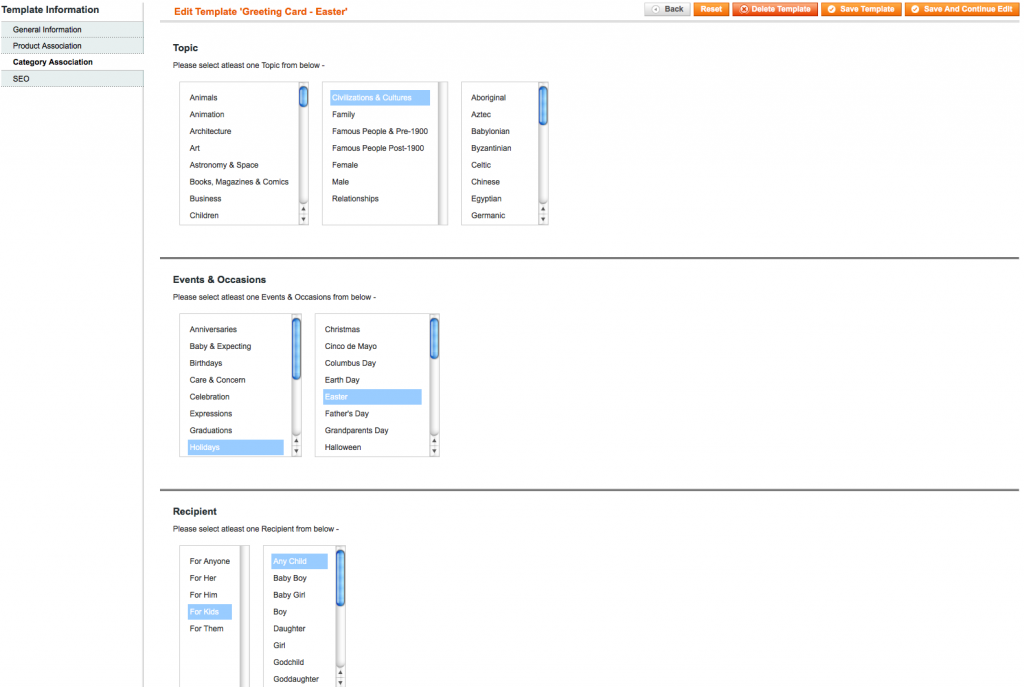
Your customer has either a purpose, or event, or a recipient in mind when he visits your Web-to-Print store. With Pixopa Web-to-Print Template Builder, you can associate templates to categories, like – – Events, which may be Anniversaries, Birthdays, Holidays, Graduations, Wedding, Retirement, etc – Recipients, which may be Father, Mother, Son, Daughter, Friend, Teacher, Customer, Employee, Boss, etc – Topics, which may be, Animals, Business, Children, Fashion, Government, Hobbies, Humor, Motivational, Religion, and many more – Colors, which may be, Red, Green, Blue, Yellow, Black, White, and as many as you want. This helps customer to find the right templates in a flash using menus and/or faceted navigations in Pixopa Web-to-Print Store. Faster the customer finds the right template, more sales it results for you.4. Associate to Stores
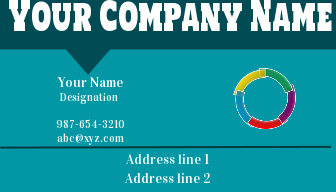
In Pixopa Web-to-Print Template Builder, you can associate templates to selected stores and manage where they are shown and where they are not. This is particularly useful for your corporate customers, who may want their dedicated fronted for Web-to-Print, with templates only designed for them, containing their logos. This feature lets you show the templates in their web-to-print storefront, and hide it for others. Now, give your corporate customers a cleaner frontend and an exclusive right to their templates, resulting in more orders.5. Duplicate Designs for Different Sizes of Same Template
You don’t need to create templates from scratch for each size in Pixopa Web-to-Print Template Builder. Create templates for one size, and duplicate it for other sizes, make little adjustments as per new size, and click save – your template is ready in new size!6. Create for specific combination of attributes, or same for all
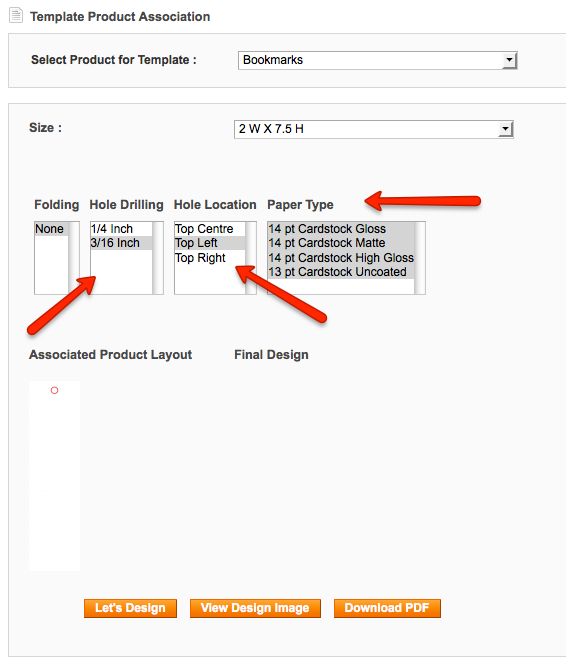
Apart from size, there are other attributes like, shape, folding, hole location, hole size, perforation, etc, which may require design to change. For example a design created for rectangle shape may get cut in ellipse shape for same size.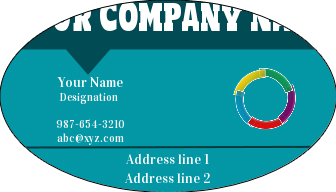
An Elliptical Card 3.5 inch X 2 inch. See that design gets cut from top. Hence same size needs adjusted design for different shape

